|
|
||
10/30/07 |
|
|
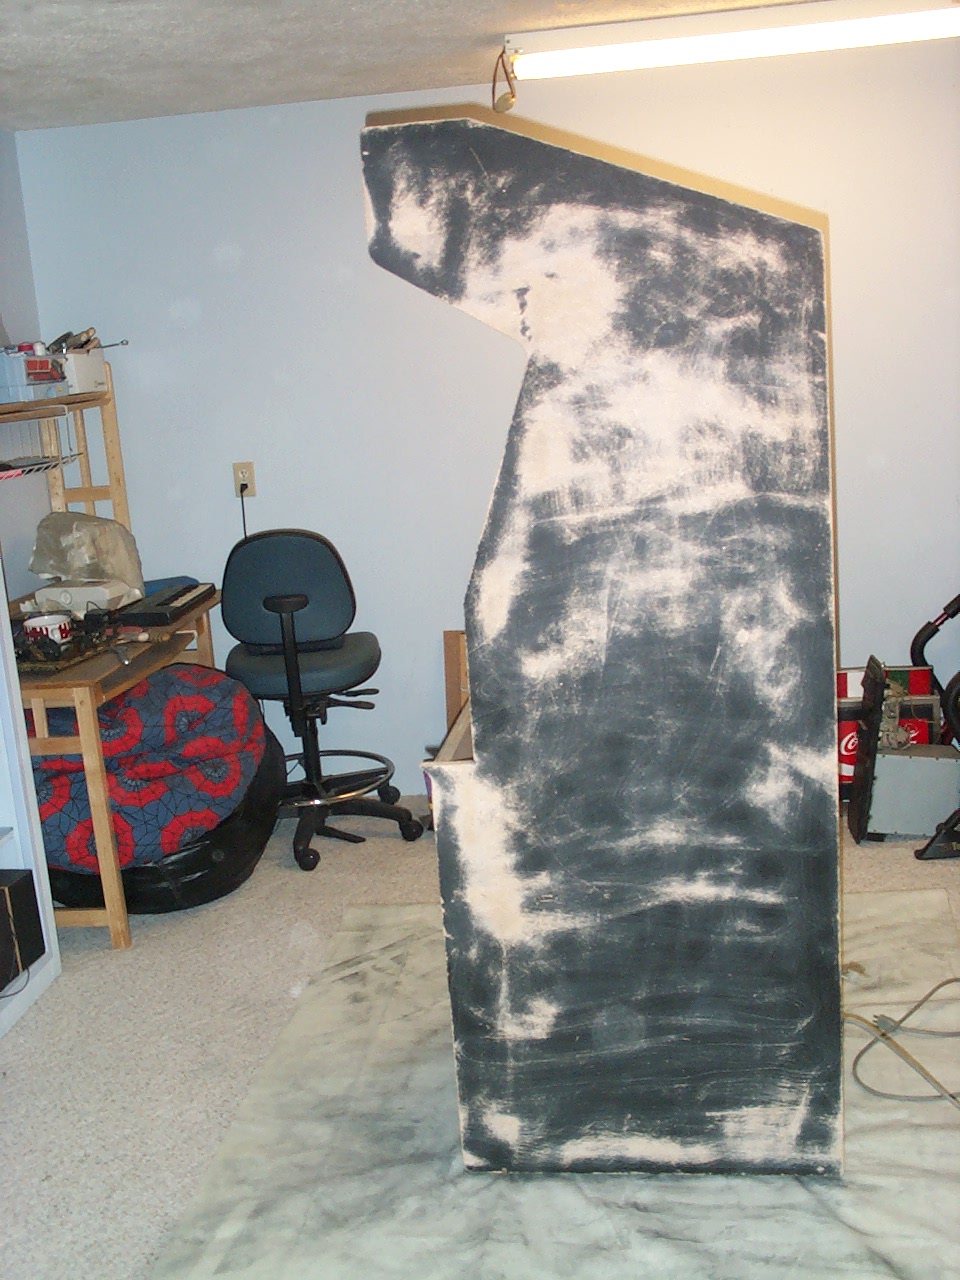
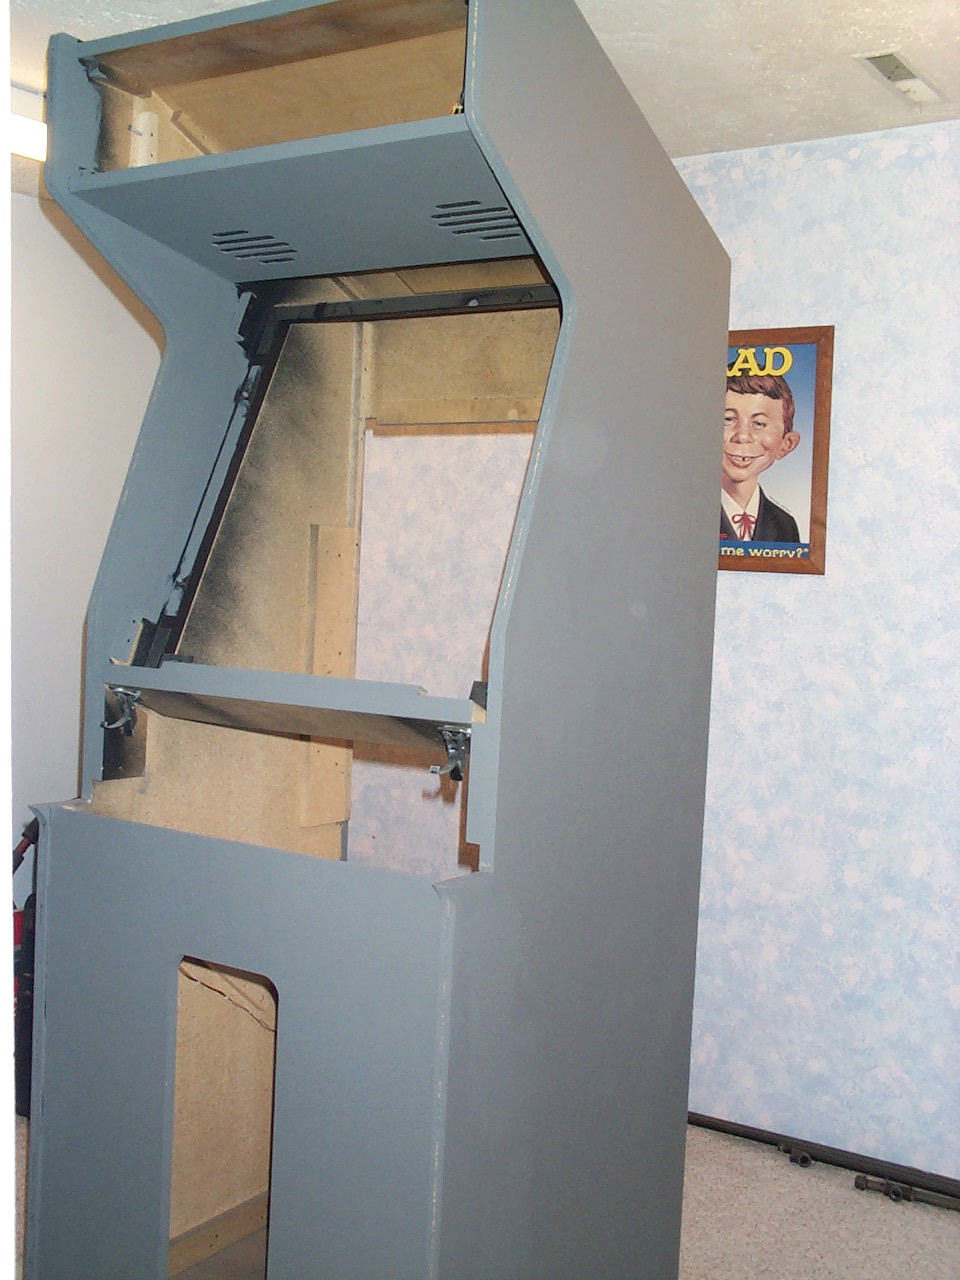
After cutting the sides off, its time to sand the cabinet down, and get rid of all the marks and damage its taken over the years:
(sanding, sanding, sanding....)
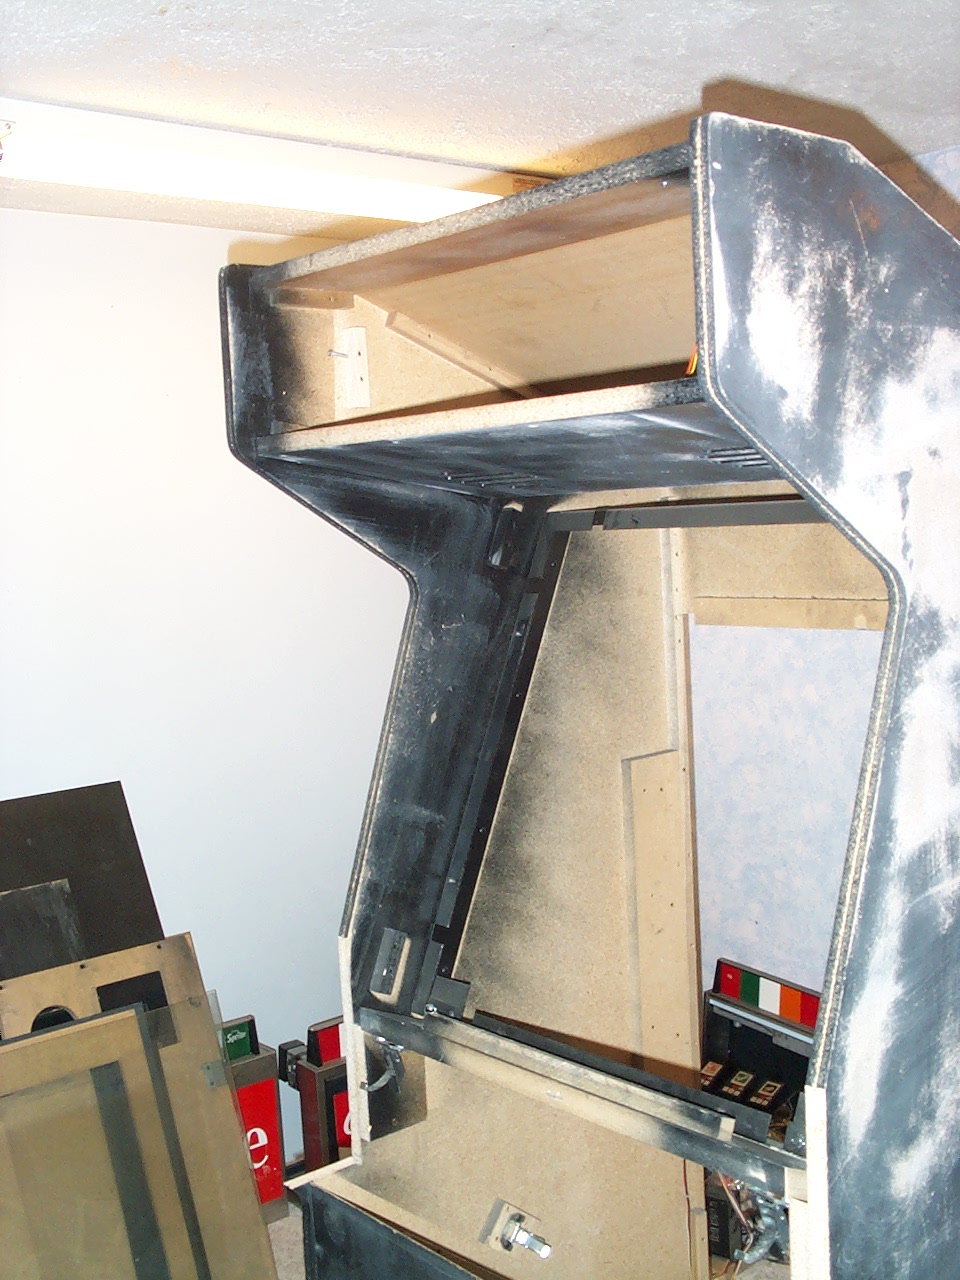
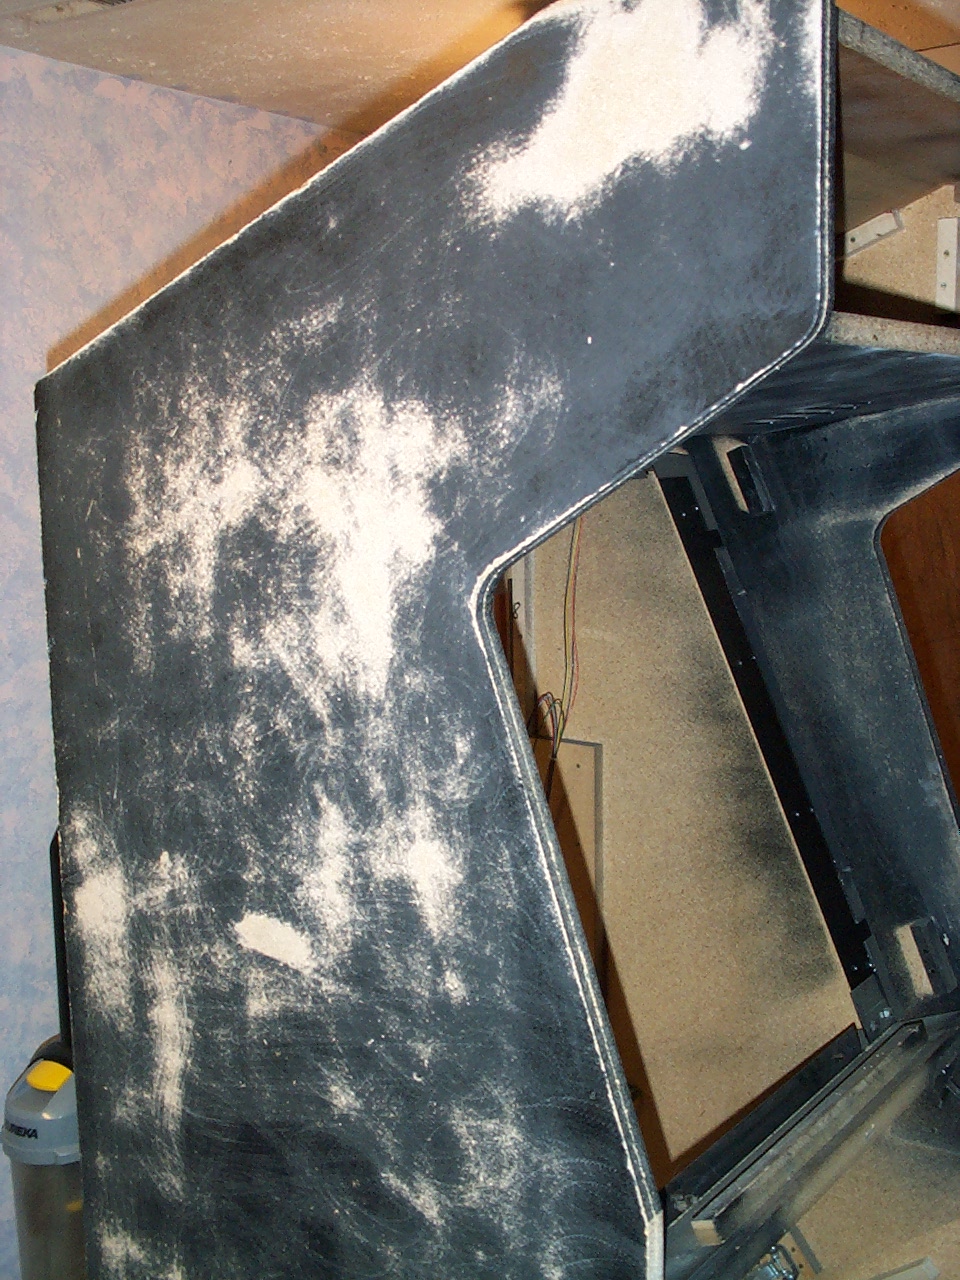
Next its time to wash the cab down with TSP, and patch any deep damage. I'm also going to do a bit of sanding an patching on the back, at the factory its left fairly rough, and I want this whole machine to look nice. (sanding, sanding, sanding, will this ever end?)
Thanks to ZAkk over at The Massive Mame Project for putting up with my "So what paint did you use? How'd you do that?" Questions. You must check out his site! With over 23 personal cabinet restorations and projects, its one of the nest reads around.
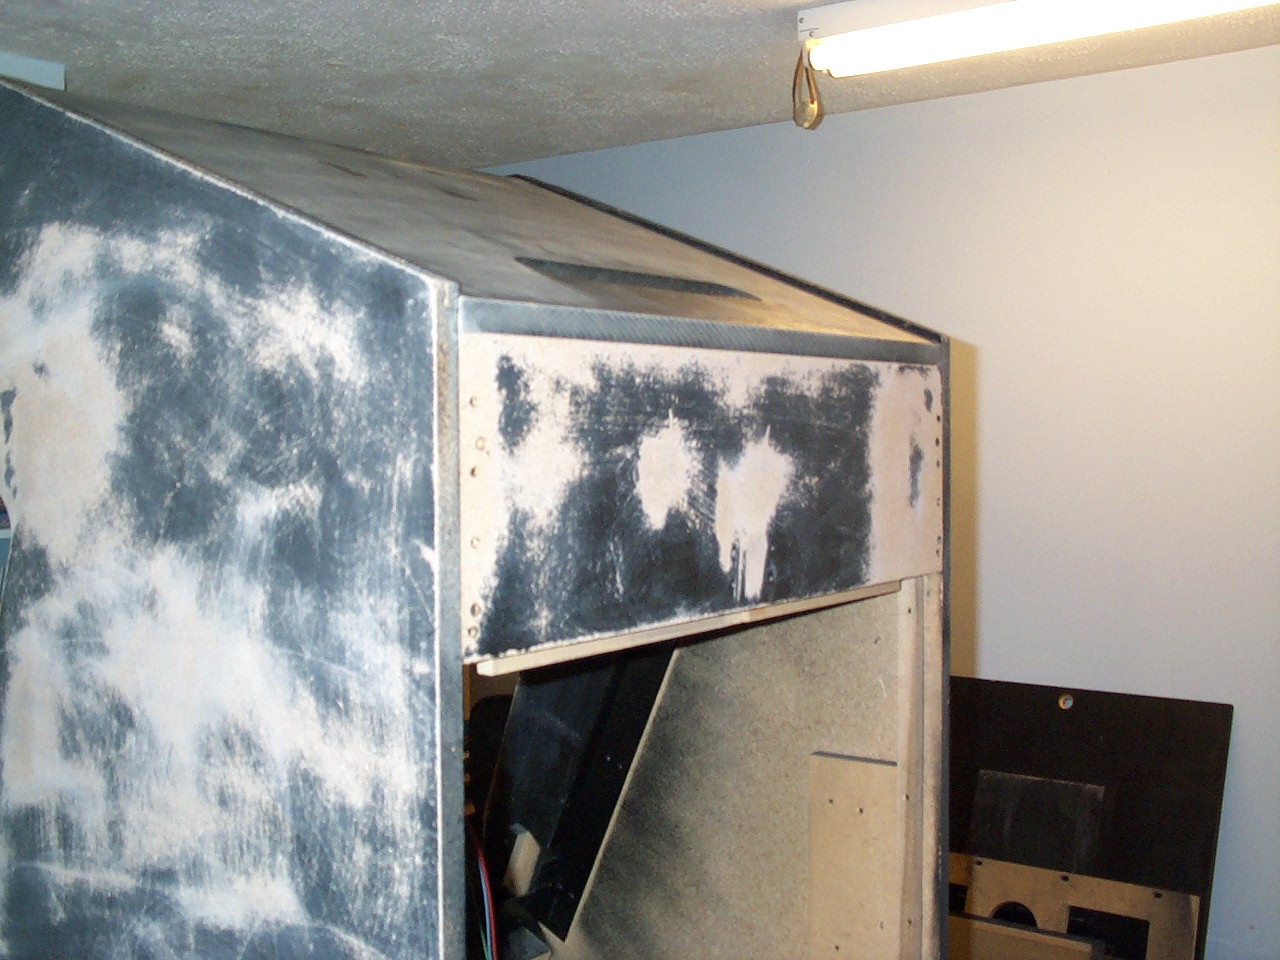
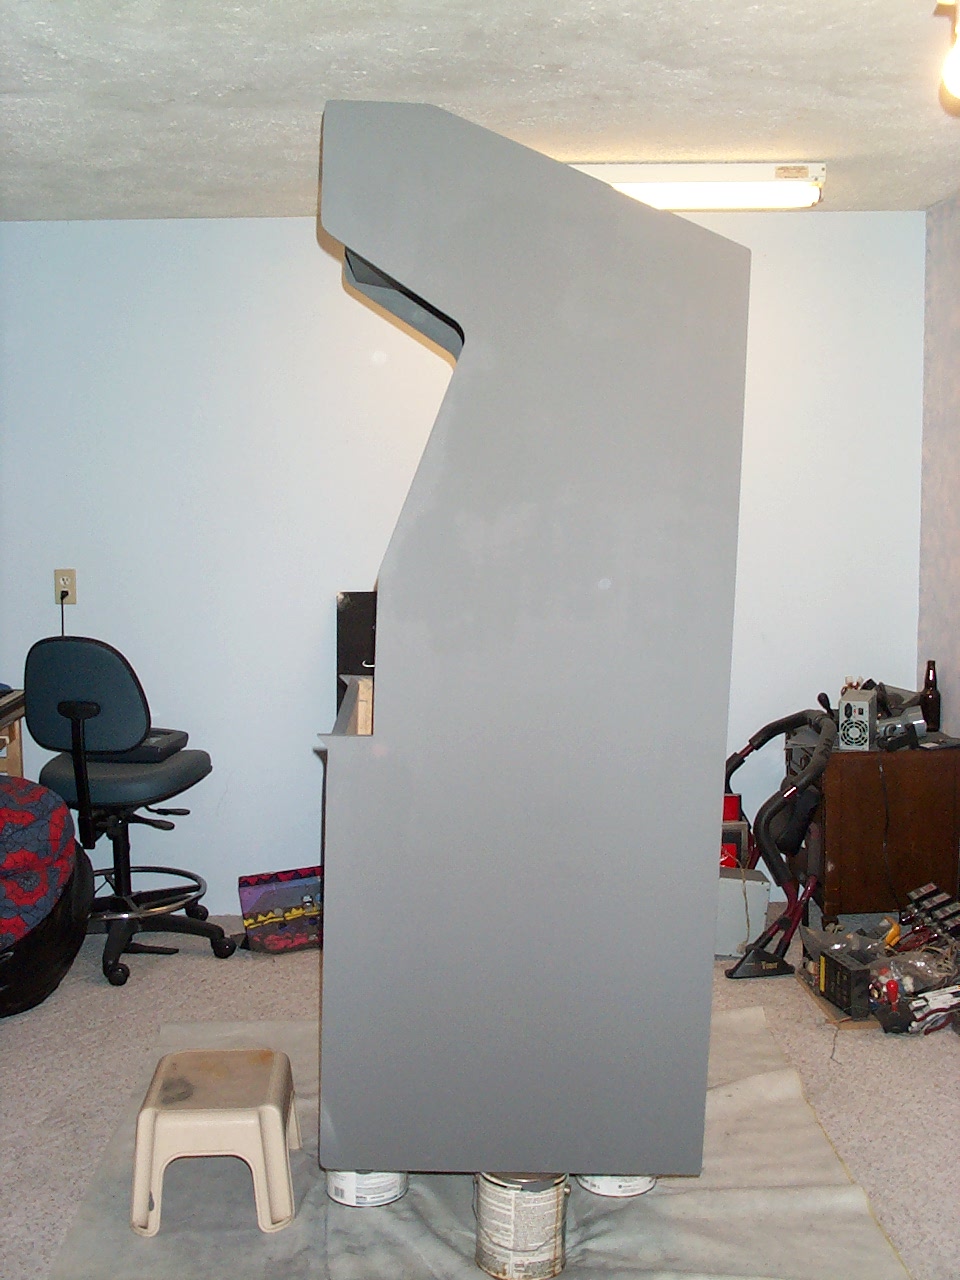
Oh yeah! Priming, and sanding, and 2nd priming....
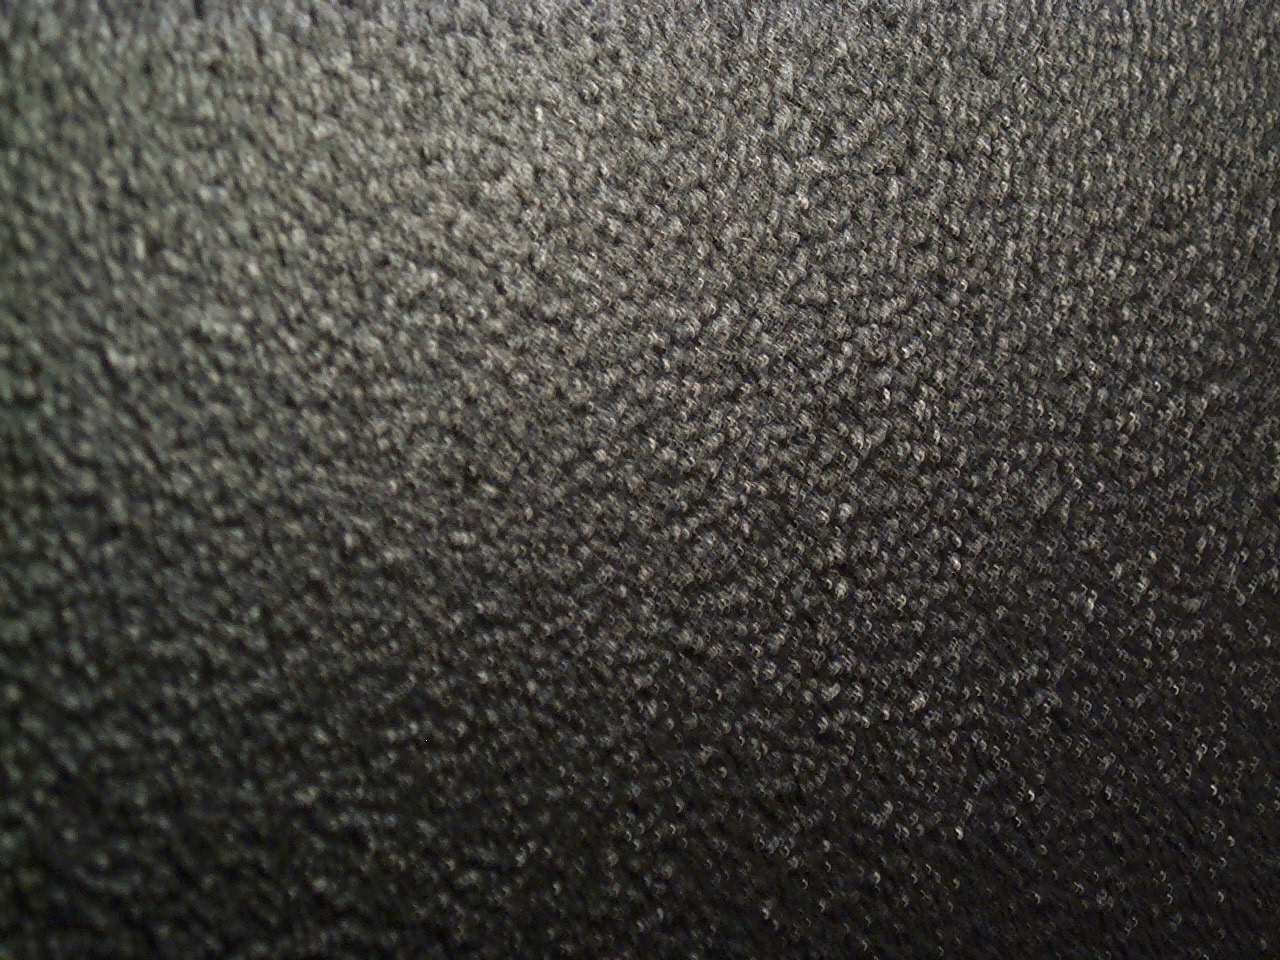
TADA!!! The pic doesn't do it justice. Latex based, semi gloss black finish (3 trips back to home depot to try and get black paint.) Here's a tip, don't be a dolt like I was, I spent at least half a hour trying to decide between satin black, semigloss, and matt latex paint. After I made my choice, I took my accent base to the counter and proudly set it down. "What color would you like sir?" (first off the sir threw me, I hate being called sir.) "BLACK!" There was a couple of seconds of silence, and then she asked me again what color I wanted. I thought it was simple, Black, rgb 255,255,255, Absence of white, BLACK! Well, apparently there are at least 1000 different blacks..... I tried to start with "Stealth Black" the blackest I could find. Its actually more of a grey.... Heres a hint, after 3 trips back, the "smart" lady behind the counter suggested the girl that was helping me simply "prime" the lamp black base pigment and add like 2 ounces of black pigment. (Isn't that what I asked for in the first place?) Now this was black! In painting, I used a fine foam roller and applied it thick to start. This left many bubbles. Don't worry. every 5 minutes or so, I went back and lightly rolled the cabinet again, about 5 times in all. This left me with a very nice, fine almost vinyl leatherette like pattern:
Continued on the next page.... |
|
|
|
This site was last updated 07/07/04
Copyright © 2004 by Garrett Sloan. All rights reserved.